
In this blog I walk you through how to create your first Ansible module. Of course there is documentation available on Ansible.com too, but I found it a difficult read and I actually struggled to start my first module based on that introduction. That’s why I created this walk-through. New enthusiasts deserve a better starting point.
This blog covers the following topics:
- What is an Ansible module
- Setting up our build environment
- The API server
- Developing the actual module
What is an Ansible module
If you are familiar with Ansible then you probably know that every task you execute in Ansible is an Ansible module. If not then you know now.
For example look at the following Ansible task:
- name: Install the latest version of python-requests
  yum:
    name: python-requests
    state: latest
This will use the Ansible module ‘yum’ to install the defined package.
By default you already have a lot of modules available. Most of the time you can use the default ones for common tasks.
Sometimes you need to do something really specific though, and a built-in module is not sufficient. In that case you can search the internet for custom modules, for example on the Ansible Galaxy website, ór build your own Ansible module.
Building it yourself should mean it will do exactly what you want.
In this blog we will create an Ansible module that can talk to an API server to add or remove users. This is a simple example and probably you don’t need a custom module, since there is a default module for it, but it helps explain how the concept of a module works.
Before we create our own Ansible module we first need our development environment setup.
Setting up our build environment
I use VSCode to develop the Ansible module. If you want to use something else, then that is fine as well; you then probably need to do some steps a little bit different.
First we create a repository which contains the folder structure for the Ansible module and an API server to talk to.
This API server is a very basic one. We can create and delete users on it – that’s it. For the purpose of this blog that is enough.
So, let’s download this repository and open it with VSCode.
git clone https://gitlab.com/techforce1/ansible-module.git -b blog-setup
Make sure you use the blog-setup branch!
When completed you should see 3 folders (.devcontainer, ansible, api-server). First we need to run the API server. To do this open a cmd or other terminal app and go to the folder api-server and execute docker build -t api-server (don’t forget the period at the end).
Now we can start it. Run docker run -it -d -p 5000:5000 api-server This starts the API-server. If you now go to http://localhost:5000 you should see a simple webpage.
The only thing left to do before we develop our Ansible module is to configure VSCode. In the downloaded repository is a .devcontainer folder. This is a specific folder for VSCode with the configuration in it on how to open a devcontainer.
With this devcontainer you are running your VSCode inside the devcontainer.
The benefit of this setup is that you can configure all kinds of tools to be available inside this devcontainer. In this case I added Ansible to the devcontainer. So you don’t need to manually install Ansible on your local machine, just use it from VSCode directly.
To open VSCode inside a devcontainer you need to click on the icon in the left bottom corner and then click Reopen in container.
You’re ready to start doing the actual work now.
The API server
Our API server has different API endpoints to talk to. Let’s open a browser* and go to http://localhost:5000/ You get a webpage with a table on it listing the admin user. Now let’s try and open a API endpoint, http://localhost:5000/API/users.
You probably get an ‘Unauthorized Access’ message, this is because we need to authenticate first before we can talk to the API and add users. We do this by going to http://localhost:5000/API/get-token It will ask for a password and username. You can use admin and the password initial_password.
By providing credentials you get a token back, you can then use this token for future API calls instead of the username and password.
*Normally you don’t go to the API endpoint via the browser but you use some sort of tool to connect to it, like another application or some automation script.
To access the API from the command line we can use curl. To request the token with curl we use the following command:
$ curl -u admin:initial_password http:/172.17.0.1:5000/API/get-token
{
  "duration": 600,
  "token": "eyJ0eXAiOiJKV1QiLCJhbGciOiJIUzI1NiJ9.eyJpZCI6MSwiZXhwIjoxNjA1NzE0NjI5Ljk1NzU4ODd9.8yDkOzN0umO2hN_D84KLV4Q4OuWzQoNf8puXWku9F14"
}
You see I use a different URL to connect to. This is because I run this command from within the terminal in VSCode. As this runs in a docker container we use the gateway address of the container, the IP address of the docker host, for the API server. In the rest of this blog we use this gateway address.
To view all the users configured on the API server we use the following curl command:
$ curl -H 'Accept: application/json' -H "Authorization: Bearer eyJ0eXAiOiJKV1QiLCJhbGciOiJIUzI1NiJ9.eyJpZCI6MSwiZXhwIjoxNjA1NzE0NjI5Ljk1NzU4ODd9.8yDkOzN0umO2hN_D84KLV4Q4OuWzQoNf8puXWku9F14" http:/172.17.0.1:5000/API/users
{
  "Users": [
    {
      "admin": true,
      "created": "Wed, 18 Nov 2020 14:41:31 GMT",
      "email": "admin@api.local",
      "id": 1,
      "username": "admin"
    }
  ]
}
To add a user you use the same API endpoint, but instead of doing a GET request write a POST request with the following body:
{
  "Users": [
    {
      "username": "test",
      "email": "test@api.local",
      "password": "password",
      "admin": true
    }
  ]
}
Next, develop the Ansible module
Let’s first create a simple playbook. Open the file ansible/tasks/main.yml. And insert the following code:
name: Add test user to API
our_api_module:
  name: test1
  state: present
  email: test1@test.local
  admin: False
Here the name of the module is our_api_module, it has 4 parameters. Now we actually need to create it. I already prepared the module file with the basic content needed to work with Ansible.
Custom modules are stored inside the library folder. You see that the name is exactly the same as in our playbook. This way Ansible knows that it needs to use this custom module.
Allow me to quickly explain some important parts of the code. We start with line 44, this is the part called upon when Ansible is loading the module. With the argument_spec parameter we define which parameters you can configure in your playbook. Also we set the support check mode to false. This means this module doesn’t support the Ansible check mode.
def main():
    module = AnsibleModule(
        argument_spec=dict(
            state=dict(type='str', default='present',
                       choices=['absent', 'present']),
            name=dict(type='str', required=True),
            email=dict(type='str', required=True),
            admin=dict(type='bool', default=False),
            base_url=dict(requred=False, default=None),
            username=dict(requred=False, default=None),
            password=dict(requred=False, default=None, no_log=True),
        ),
        supports_check_mode=False,
    )
Then at line 59 we initialize the ApiModule class, this loads the class defined at line 23. When initializing this class it executes the code in the __init__ function. Here we define the module arguments and we request the token from the API server. See how this works in the function getToken at line 37.
Thanks to the built-in Ansible urls module, it only takes 3 lines of code to request the token.
def getToken(self):
    url = "{baseUrl}/API/get-token".format(baseUrl=self.baseUrl)
    response = open_url(url, method="GET", url_username=self.username, url_password=self.password, validate_certs=self.verifySsl)
    return json.loads(response.read())['token']
Okay. We have the module loaded, now it is time to write the actual code to create the user. We are going to add this at line 69. We start with checking what we need to do. There are 2 options: either add the user, or delete the user based on the parameter state. So let’s make an if-statement, by adding the following code:
if api.state == 'absent':
    if api.user_exist(api.name):
       # do something to delete user
elif api.state == 'present':
    if not api.user_exist(api.name):
       # do something to add user
This code is pretty straightforward. But it introduces a new function called user_exist. We need to add this to the ApiModule class:
def user_exist(self, name):
    url = "{baseUrl}/API/users".format(baseUrl=self.baseUrl)
    headers = {
        'Accept': "application/json",
        "Authorization": "Bearer {}" . format(self.token),
    }
    response = open_url(url, method="GET", headers=headers, validate_certs=self.verifySsl)
    results = json.loads(response.read())
    for user in results['Users']:
        if name == user['username']:
            return True
    return False
As you can see, we use headers to specify the token which we acquired with the initialization of the module. After requesting all the users from the api endpoint /API/users we check if the user is in the response. If that is the case we return True, otherwise we return False.
We now know if the user exists or not, let’s add the functions for adding or deleting a user.
Add the following:
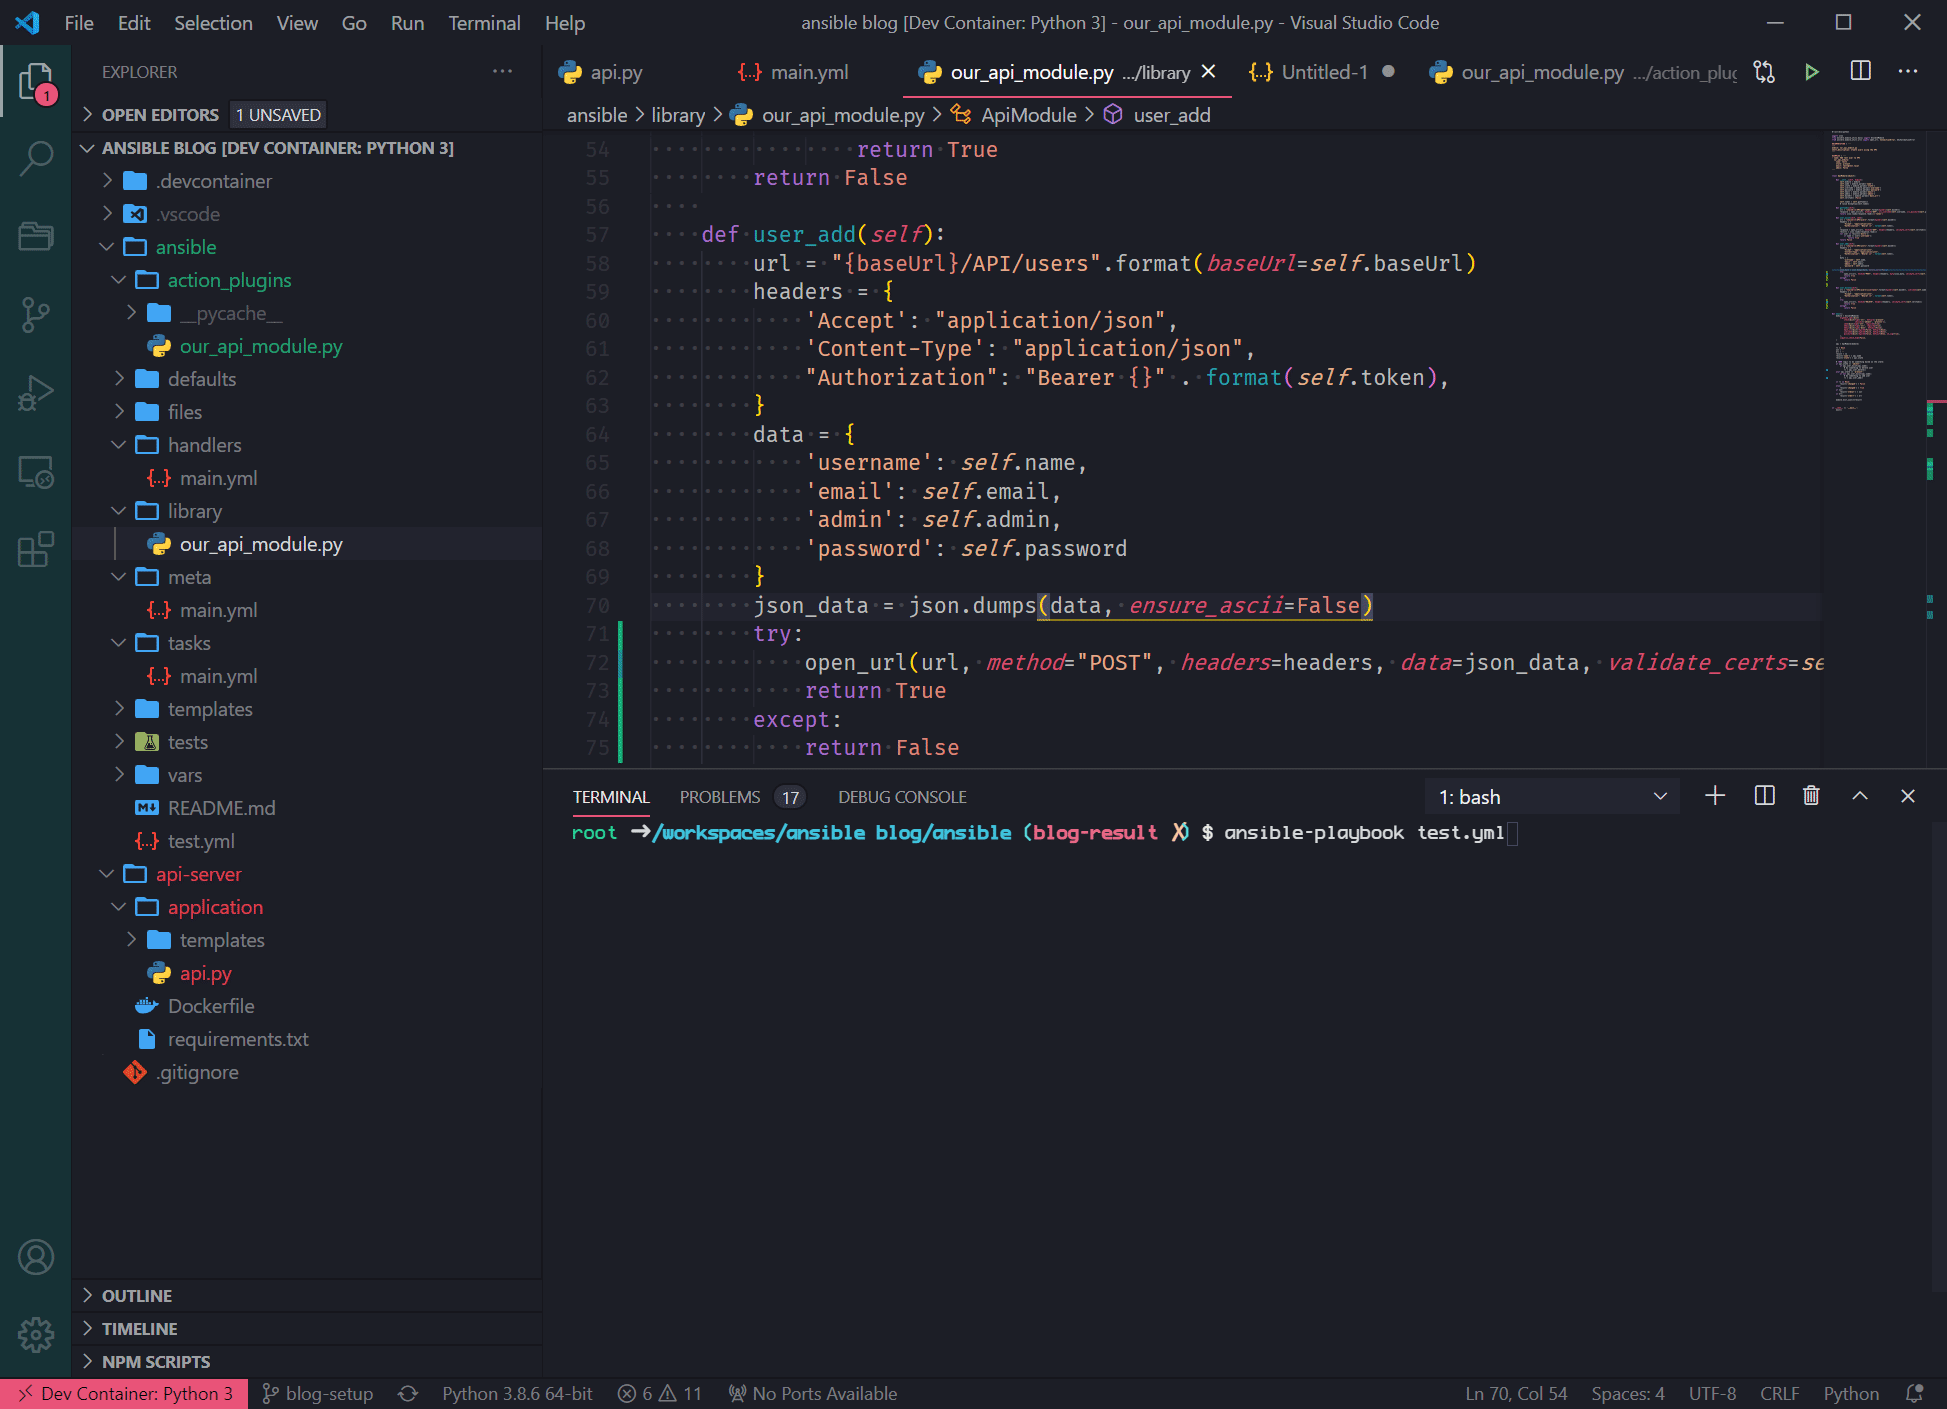
def user_add(self):
        url = "{baseUrl}/API/users".format(baseUrl=self.baseUrl)
        headers = {
            'Accept': "application/json",
            'Content-Type': "application/json",
            "Authorization": "Bearer {}" . format(self.token),
        }
        data = {
            'username': self.name,
            'email': self.email,
            'admin': self.admin,
            'password': self.password
        }
        json_data = json.dumps(data, ensure_ascii=False)
        try:
            open_url(url, method="POST", headers=headers, data=json_data, validate_certs=self.verifySsl)
            return True
        except:
            return False
By this time you should be able to create the delete function by yourself. If needed simply use the user_add function as an example. Please note: you need to change the HTTP method from POST to DELETE, and you don’t need to provide a body, instead of that you pass the username as a parameter to the URL.
So the URL will be something like:
url = "{baseUrl}/API/users/{username}".format(baseUrl=self.baseUrl, username=self.name)Don’t forget to include the delete function in the if-statement.
Finally extend the playbook (tasks/main.yml) with the following:
- name: Add test2 user to API
  our_api_module:
    name: test2
    state: present
    email: test2@test.local
    admin: False
    password: "test2test2"

- name: Delete test1 user to API
  our_api_module:
    name: test1
    state: absent
    email: test1@test.local
    admin: False
    password: "test3test3"
Run the playbook to see that it creates 2 new users and also deletes the 1 user you just created.
Wrap up
Congratulations! You now have a functional Ansible module. Try to add a change user function? Also consider adding error handling in this module, as you would in a real module to take care of errors and return them properly to Ansible.
And take it from there.
Not that difficult right? It isn’t. Simple Python code goes a long way.
If you want to see the complete end result, please checkout the branch blog-result.


